Monday, February 27, 2012

Resist


resist: 1325–75; ME resisten (v.) < L resistere to remain standing,
a substance that prevents or inhibits some effect from taking place


I really like a textured looking background, but I paint in very thin washes, which isn't compatible with the thicker and more opaque layers that are usually seen in mixed media. Putting down some kind of resist before I add color helps create some dimension and interest.

I start with a very lightly gessoed canvas that is still quite porous. Too much gesso will make the canvas too slick and not porous enough. I also experimented on a lightly gessoed Moleskine page, and bare watercolor paper.

For the resist in my projects today, I used a regular glossy gel medium, an ultra heavy glossy gel medium, and modeling paste. Anything that makes a mark that is less porous than the canvas or paper will work as a resist. 
   
There are several different ways to put the resist down. Any kind of handmade or rubber stamp lightly coated with gloss medium can be pressed into the canvas or paper. A palette knife can be used to spread an imperfect coat of modeling paste in places on the canvas ...


Using an old brush, glossy gel medium can be flicked in spots at random over the canvas.


Screens, stencils, silk screens and anything else with an open pattern can be used to press modeling paste or gel medium through.


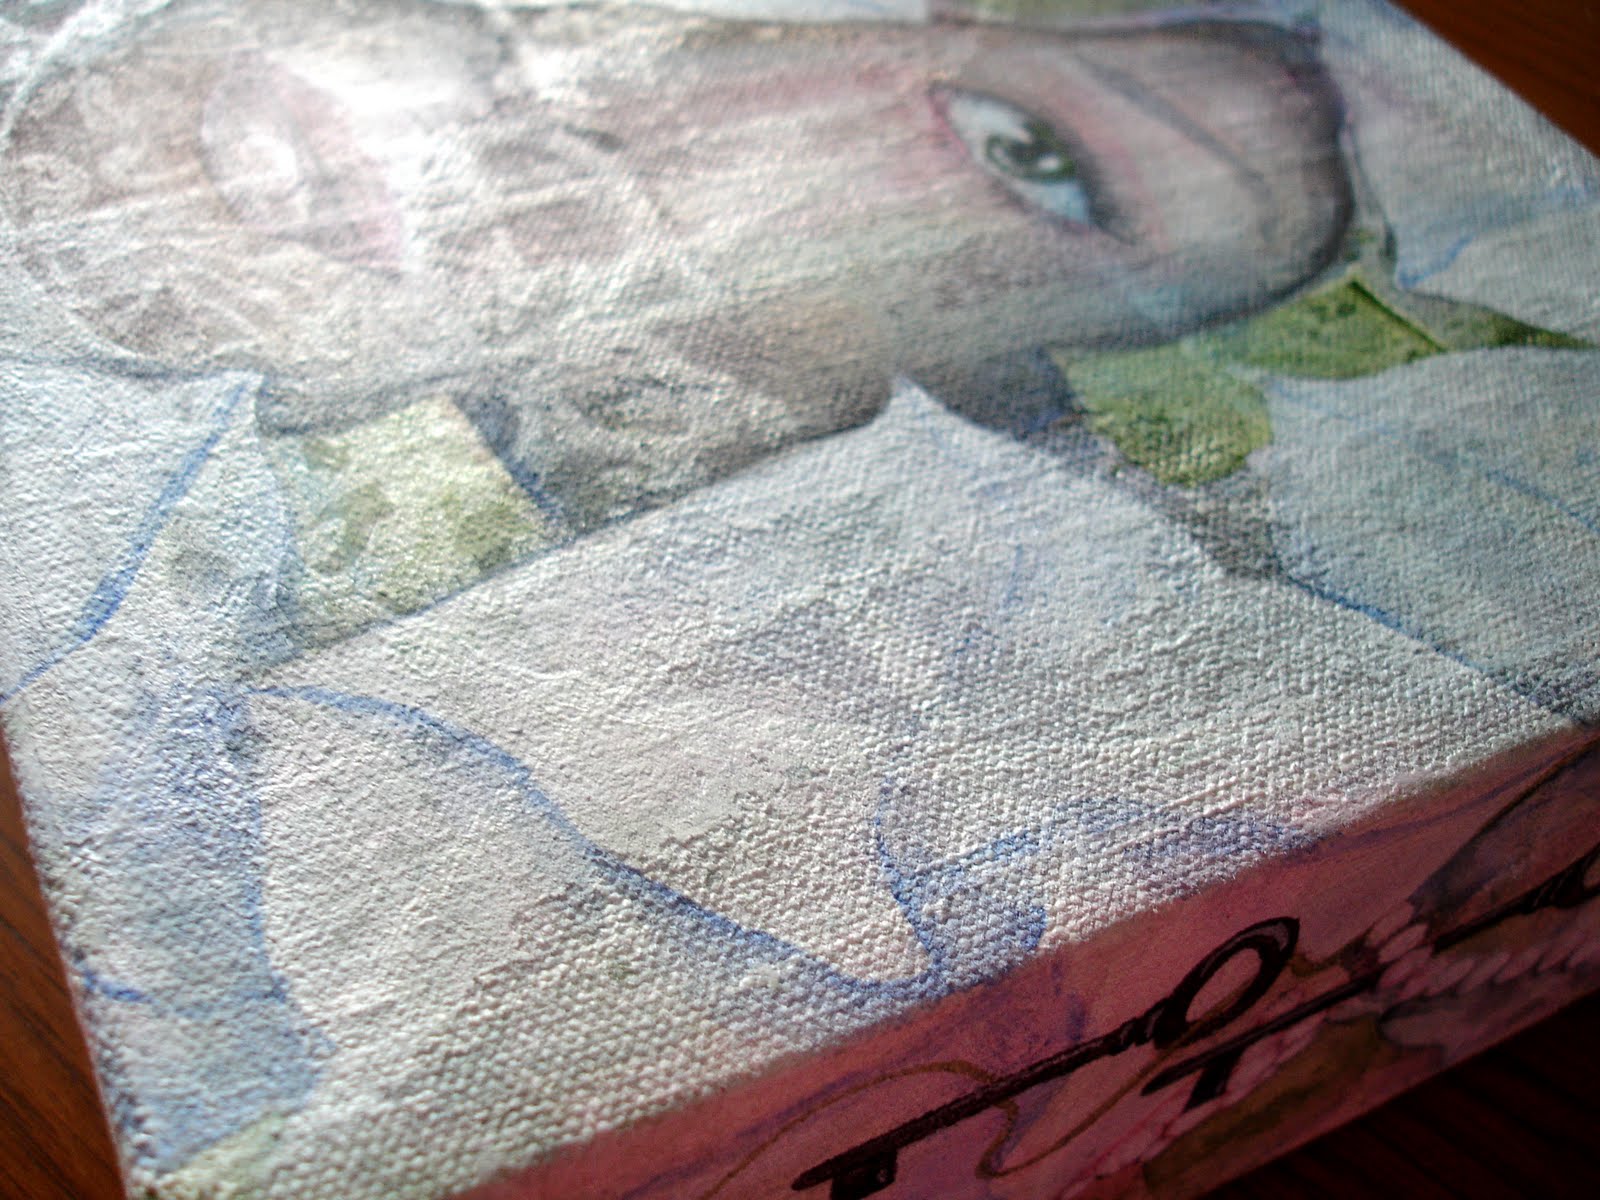
Once the different resists are down, I add thin washes of acrylic paint. For this project, I wanted a subtle effect with the resists, so I made them fairly thin. The more porous canvas will soak up more pigment than the resist leaving an interesting design.


I wanted pink stripes and used masking tape as something of a resist. When using tape, the paint can't be too watery, otherwise it will seep under the edges of the taper. That can actually be an interesting effect, but I didn't want that here so went with a drier paint ... in pink!

My pink is made of Liquitex Quinacridone Magenta mixed with Titanum White.


I decided to use a silk screened image over the stripes ...


and added some moonflowers ...


This works the best on canvas, for me anyway. The effect is usually more subtle on paper.


Products used ...

Liquitex
  • Ultra Heavy Gel Medium, glossy
  • Gel Medium, glossy
  • Modeling Paste, light
  • Vivid Lime Green
  • Yellow Light Hansa
  • Quinacridone Magenta
  • Titanium White
  • Cobalt Teal
  • Turquoise Deep
  • Sap Green

Tuesday, February 21, 2012

Progress ... WIPs


progress

a movement toward a goal

going on; under way; being done; happening:

to grow or develop, as in complexity, scope, or severity; advance

Works in progress ...

"sight" 10" x 10" x 2.5"

"she's a rainbow" 12" x 12" x 2"

7" x 7" x 2.5"


"shh" ... 12" x 12" x 2"

24" x 24" x 2.5"

24" x 24" x 2.5"

"allie and ledger - life size" 24" x 24" x 2.5"


Tuesday, February 14, 2012

Stretch ... How to Make Your Own Artist's Canvas


stretch
to draw out or extend (oneself, a body, limbs, wings, etc.) to the full length or extent

to extend, force, or make serve beyond the normal or proper limits; strain: to stretch the imagination

"he taught us drawling, stretching, and fainting in coils" ~ lewis carroll
Several years ago, we built our own house. I don't mean we acted as a subcontractor and paid someone else to do the work, I mean we built it with a hammer and nails and saws ... with our own hands.

Even so, I was ridiculously intimidated when it came to making a frame for canvas and I put off even trying until a couple years ago. Artist Jane Kenoyer has some excellent canvas building tutorial videos which I've posted here previously ... and they were very helpful in convincing me to give it a go. I'm glad I did. It's less expensive, especially for very large canvases, and I'm able to choose the ground rather than try to work around what was put there by a canvas manufacturer.


To start, you need wood for the canvas frame. These pieces are for a tiny 5" x 5" canvas, and are about one inch each way, but usually I use 1" x 3".

The canvas doesn't rest on a wide piece of wood. Rather, it's held up around the edges by just a thin strip of wood. To get that edge on any canvas frame, I bevel cut them with the table saw.

The corners are cut at 45 degree angles on a miter saw.


I nearly always use 1" x 3" pine, or 1" x 6" that has been ripped in half to make it 1" x 3". Sometimes I splurge for the clear stuff, but I've also found good solid, knot free wood in the less expensive types.

I work on one corner at a time and coat each mitered edge with wood glue. A corner vise holds them together at a right angle so they can be nailed with 1 1/2" finish nails.

Larger canvases will require cross bracing where needed.


Once I have the frame built, I tear a piece of canvas that is just slightly larger than what I need to stretch across the front, around the sides, and over the back where it will be stapled. I make a small cut and then tear the canvas. It's much easier and more accurate than trying to cut a straight line.


I buy my rolls of canvas online, and get 11.5 ounce raw canvas. "Medium weight" canvas commonly found in art stores is quite thin (7 oz, usually) and I've found isn't nearly sturdy enough for a wider canvas frame. It's also more expensive.

To stretch the canvas, start in the middle and staple opposite sides, pulling the canvas as tight as possible. Then go to the other two opposing sides and staple the middle. Work out from the middle, pulling tightly and alternating sides so everything is kept evenly taut. There's a tool called, appropriately enough, canvas pliers, which is basically a very wide pair of pliers. I haven't gotten around to getting one and use a regular pair of pliers when needed. It took making a few canvases to develop a feel for what worked best for me.


Once the sides have been stapled, the corners can be made.

Making corners is difficult to explain. It's basically like a hospital corner.


Once everything is stapled down, the canvas can be primed with gesso or whatever is preferred. I use a few very thin layers of gesso thinned with water, which leaves the canvas quite porous and suitable only for acrylics and not oils (oils will degrade fabric, so a heavier coat of gesso is needed).

Regardless of size, all canvases are basically made the same way. Below is a nearly 4' x 6' canvas I made recently. There are cross braces because the span of the sides is long enough to bow without them, but the corners of the frame are made the same way. The canvas is stretched the same way as well.

A 4' x 6' canvas can cost as much as $350 or more. I put this one together for less than $35.


Now ... if I could just decide what to put on it ...


Friday, February 10, 2012

Moonflowers


When the moon blooms
Like a flower in the night
~ Mark Heard

I've always been fascinated with moonflowers ... they're evening/night blooming flowers. Unfortunately, I've already killed my moonflower seedlings for this year. I let them get chilled. They have to be kept really warm. I'll have to settle with painting them.


This is a 6" x 6" hand stretched 11 ounce canvas with 2 1/2" sides (I'll put up a tutorial on how to make these soon). I love the chunkiness of it. I lightly gessoed the canvas. Too much gesso and any watery paint will just pool on the surface. This way, the canvas stays matte and a bit porous and it's more like working on watercolor paper.


I made this for our new neighbors. We live in the country and have been smack in the middle of 40 acres for years. We finally have a neighbor, almost within shouting distance ... a nice family with little kids. Anyway, this is on a 5" x 5" hand stretched 7 ounce canvas with 1" sides. I kind of like working small sometimes.


It needs ... something. It doesn't seem finished. The spiral shape is also know as a golden spiral ... It's on a 12" x 12" hand stretched 11 ounce canvas with 2 1/2" sides. I've used tinted and untinted gel medium as a resist here.